Grassello Fino Venetian Plaster – Shiny High Gloss Plaster
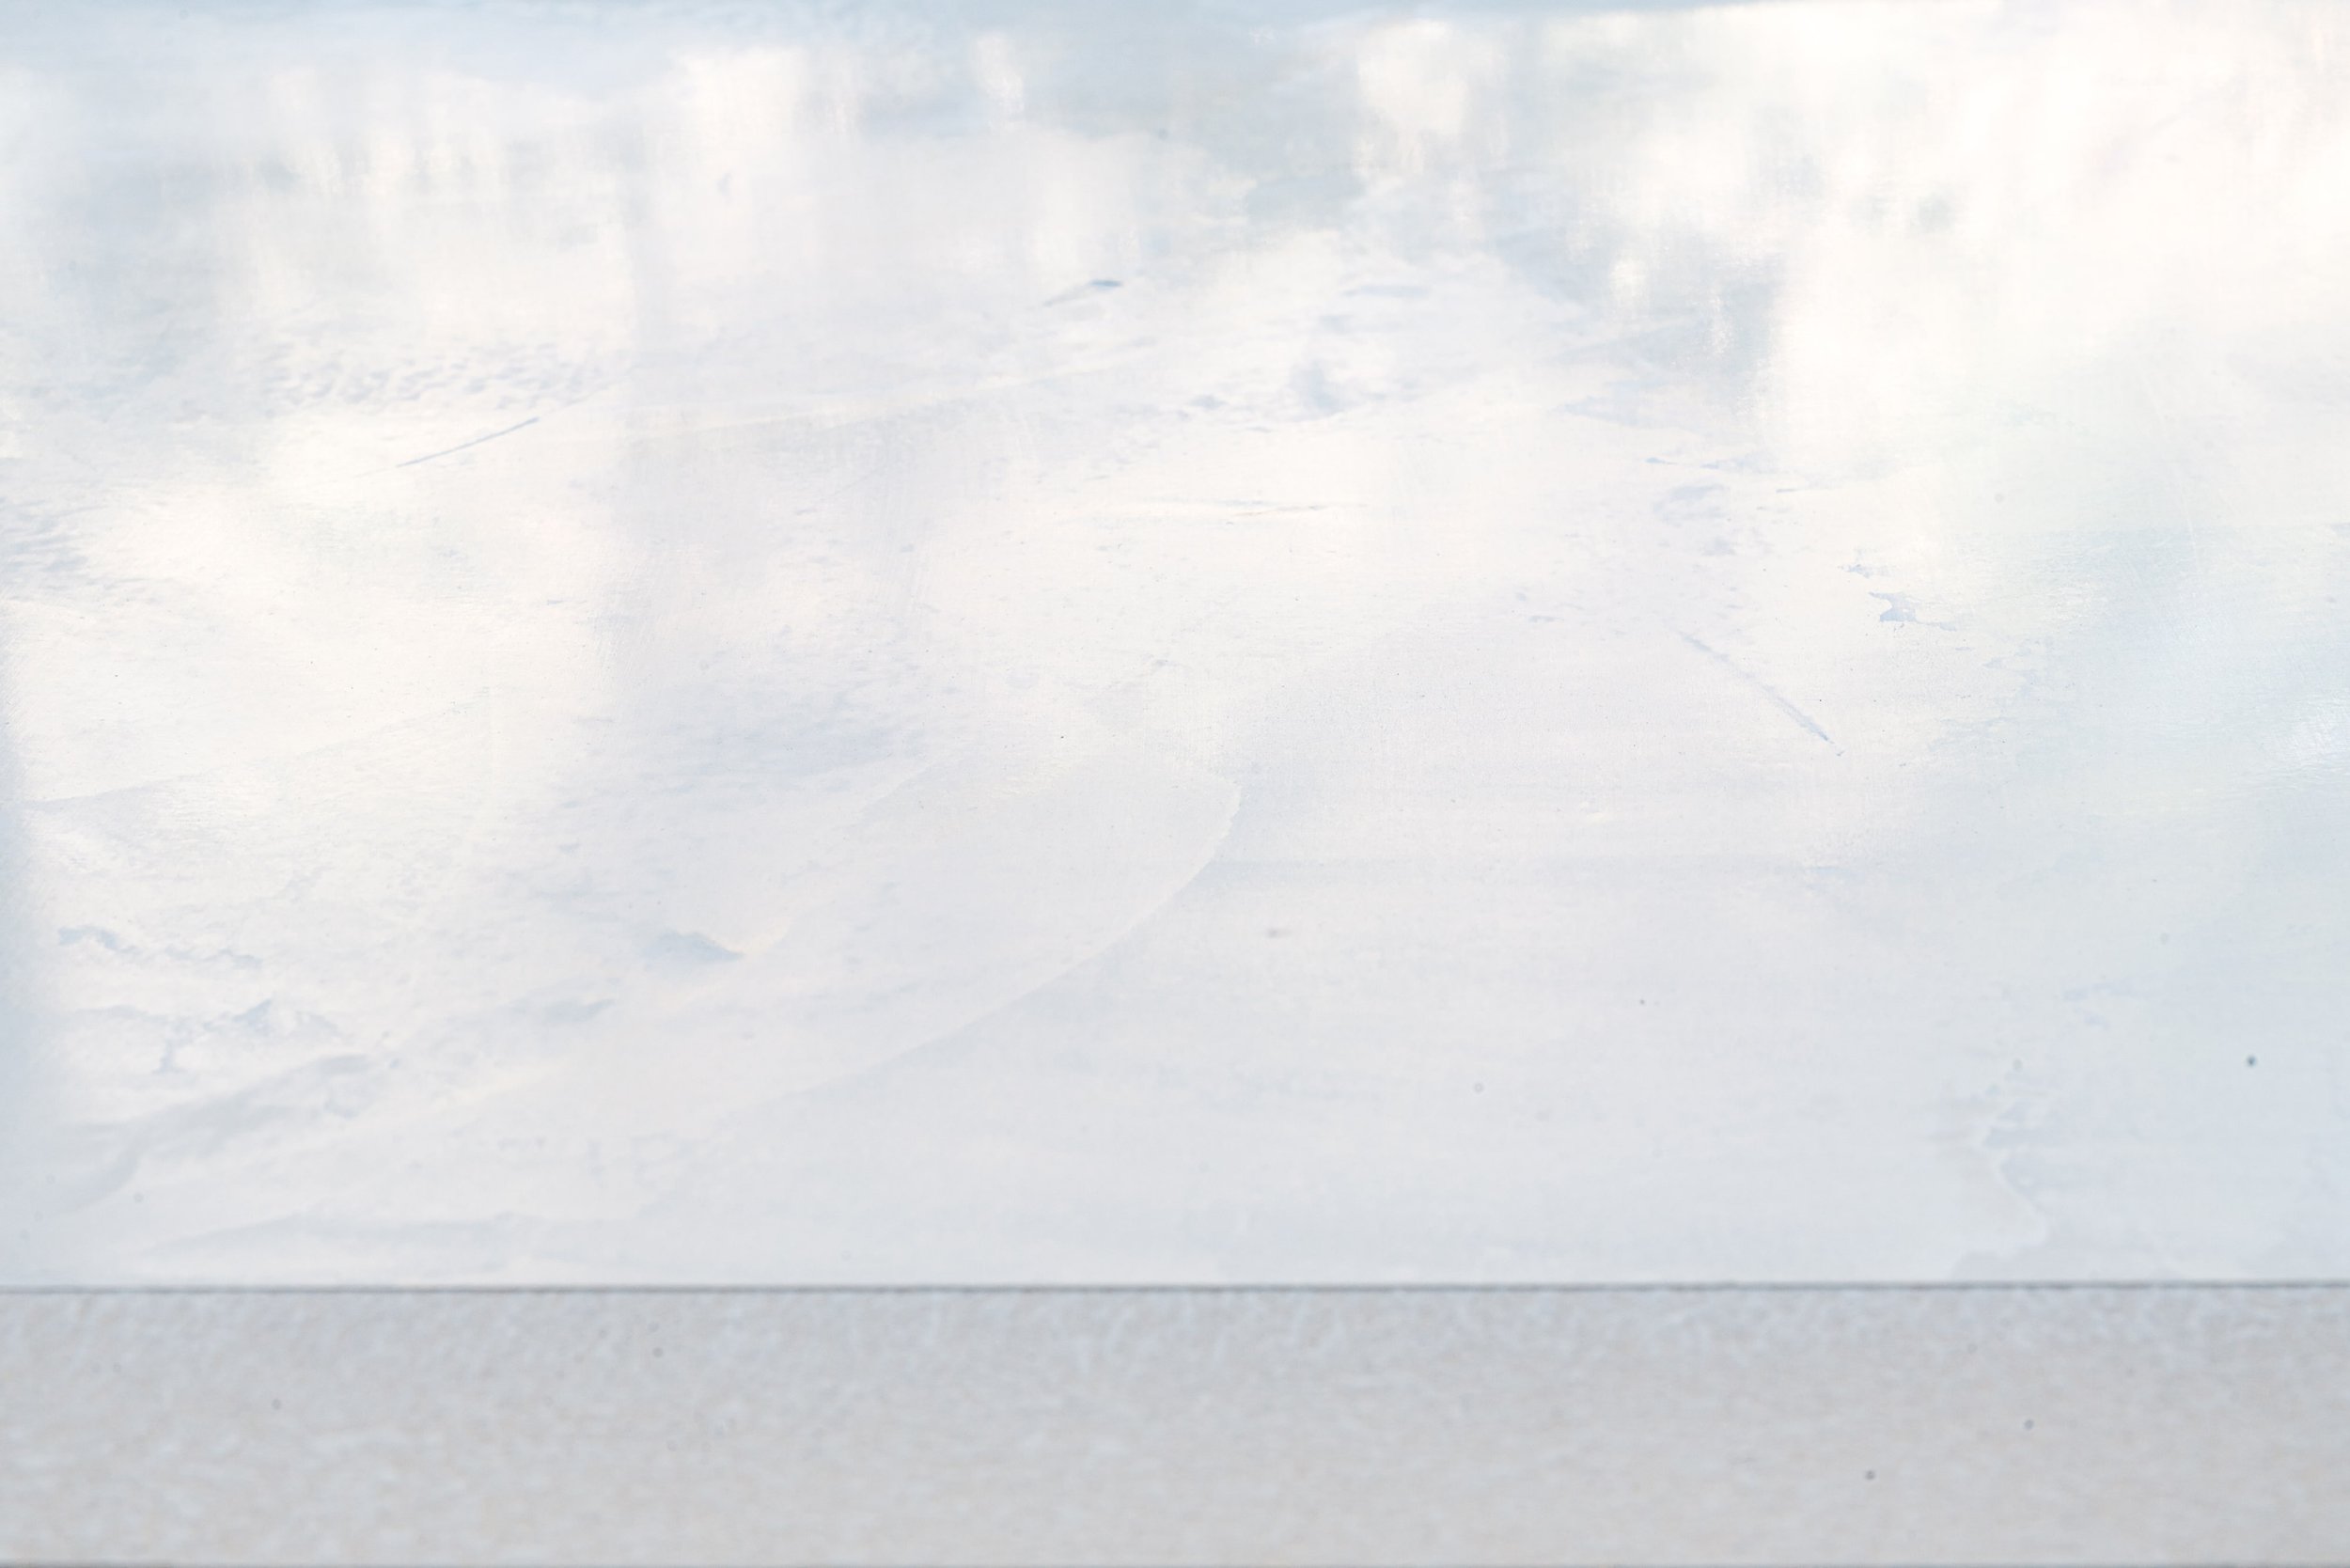
Grassello Fino is a high gloss Venetian plaster that’s known for its smooth and almost mirror-like finish.
It’s considered a true traditional Venetian plaster with 42% marble and is many times coined an “old world” style, as this sheen is what gave Venetian plaster its fame. Additionally, while Venetian plasters range from coarser, more matte style to super shiny, like this one, Grassello Fino’s high gloss finish is what you think of when you first think of Venetian plaster.
Video Applying Grassello Fino
Quick Facts
Very shiny, high gloss Venetian plaster
Smooth, mirror-like finish
42% marble
Can be tinted to almost any color
Finer plaster creates a thinner consistency
Walls should be very smooth prior to applying
Applied with a trowel in typically three coats
Sealed with a fourth coat of wax for protection
What is Grassello Fino Venetian Plaster?
Grassello Fino, which literally means “fine putty”, is a fine Venetian plaster that results in a very shiny mirror-like finish. It contains 42% marble. To the touch, Grassello Fino feels almost like stone due to the glossy surface created by the burnished and polished Venetian plaster.
Why choose Grasello Fino?
This plaster is a great choice if you are looking for a shiny Venetian plaster. It gives a high gloss finish without the need for other materials to add shine. If you are looking for a very classic Venetian plaster, and enjoy a very shiny finish, Grassello Fino is a great option.
How does Grassello Fino compare to other Venetian plasters?
Compared to other Venetian plasters, Grassello Fino, again, is very shiny on the spectrum of matte to glossy. It has a higher amount of marble in it compared to more coarse or matte options and additionally is much thinner in consistency. In application, Grassello Fino can be harder to apply, as small imperfections in your wall or nicks can be more obvious.
What You’ll Need: Recommended Tools
Just like with other Venetian plasters, you’ll need a variety of tools to apply Grassello Fino, including these must-haves:
Power drill with mixer attachment
Trowel – To avoid black marks, I’d recommend a treated stainless steel trowel
Preparing your walls for Grassello Fino Venetian Plaster Application
Because of Grassello Fino’s fine and thin consistency, it’s extremely important to prepare your walls prior to applying the Venetian plaster. Unlike with coarser Venetian plaster which can be applied to walls with minor texture, such as orange peel, Grassello Fino can only be applied to very smooth walls. This is considered a level 5 wall, meaning it is essentially “brand new” drywall. If you are starting with a wall with an existing orange peel texture, you will want to sand your walls, to get them as smooth and flat as possible. In the case of popcorn or a heavy knockdown texture, the best route will likely be to sand down high points and fill in texture with joint compound. We have had to do this for our living room walls and ceiling, and while tedious, it is a necessary step.
Priming Your Walls
After this, we recommend priming walls with a regular paint primer. This can be something you get from your local hardware store, like a Zinsser 123, or a specialty primer can be used like a Novalux E, which is troweled on. In the case of a normal hardware store primer, you’ll want to use a smooth napped roller, again, making sure there is no texture before starting the Grassello Fino Venetian plaster application.
Application Process
Grassello Fino is typically applied in three coats, which is more than the typical two for coarser Venetian plasters like a Marmorino KS or Firenzecolor VP Suede. The first two coats are for creating a base with the third and final coat compressed into those to form the final shiny look.
First & Second Coat
For the first coat, some people opt to do an untinted layer, which allows the plaster to be as thick as possible, due to there being no dye. Especially in terms of darker colors, this can be helpful. In our video, we simply used the dyed plaster for all three coats which is perfectly acceptable as well. When applying Grassello Fino, you’ll notice this goes on very smooth and silky, almost butter-like. It will also be more liquidy than other coarser plasters causing it to spread much further. Since the main purpose of the first and second coats are to build up a base, you’ll want to make sure you aren’t pulling too much of the product back off. Any bumps that are left on your wall will come through on these coats which will show you that you likely did not prep your walls enough. Make sure to allow the first coat to dry before starting on the second.
Third Coat
The third, and final coat, will be our compressive coat, meaning we will want to compress it into the first and second bottom coats, as well as burnish. This coat, as any final coat should be, should be applied in a thinner layer, compressing and pulling most of the product off.
Burnishing
Shortly after applying the third coat, you’ll want to burnish the coat. Since Grassello Fino is thinner, it will dry faster, but also be more fragile, so you’ll want to be extra careful not to nick your topcoat. While burnishing, this is where the shine will really come to life. You should start to see the beautiful mirror-like qualities coming out. Using a burnishing trowel, burnish in all directions. You can stop and look at the wall from the side to ensure you are bringing out the shine over the entire surface of the wall.
Sealing and Protecting Grassello Fino Venetian Plaster
After it is all dry, it’s important to seal and protect your Grassello Fino Venetian plaster, to add durability to the surface. This is particularly recommended for rooms with high moisture such as bathrooms and kitchens. For Grassello Fino, typically a coat of Cera Wax is buffed on which will additionally add to the shine while helping to protect the plaster. You can do this by hand but usually, a buffing wheel is going to be more efficient.
Final Thoughts on Grassello Fino Venetian Plaster
Marmorino KS is our favorite Venetian plaster, and again, the one we’ve used in many rooms of our home. It’s relatively simple to apply, can be tinted to a variety of colors, and give a subtle, classic, and timeless look. We’d recommend Marmorino KS for just about any project, from living room walls, kitchens, bathrooms, fireplaces, and more, you can’t go wrong with choosing Marmorino KS for your next project.
Where to Buy Grassello Fino
Grassello Fino can be purchased from Firenzecolor. Use code ALONGFORITALL for 10% off.
Video Transcript
Hey guys, welcome back for another one. Today we’re gonna be checking out, Grassello Fino. Now Grassello Fino is going to be more of a traditional Venetian Plaster. This is kind of what you think of when you think of Venetian plaster, that super shiny kind of high gloss look. So, this is a lime-based plaster with 42% Marble, so that’s a lot of marble. So, this stuff is going to give you that nice sheen, nice gloss, and give you that more of a traditional Venetian Plaster look. So when you think of traditional Venetian plasters, this is what this is going to be. As always if you’re new here make sure to subscribe so you can stay in the know, click the bell button if you like, and we have more Venetian Plaster videos for you guys coming out so that’s the best way to kind of stay in the loop here. Also, go ahead and check out our playlist we have two different playlists now. One that is our Venetian Plaster application playlist, as well as our product playlist, that you’re watching right now. So, Grassello Fino and these shinier are Venetian plasters, they are a lot thinner because they’re so fine that the application is a lot thinner than like a coarser Venetian plaster. So, this is traditionally applied in three coats, rather than the two coats that the coarser Venetian plasters are applied in. That’s going to going to help build the base up so it’s not super thin so it kind of builds that base up a little bit.
Today we kind of have this like brown, kind of light beige color, that we’re gonna be applying. When you do your first coat, some people apply a white base coat that just kind of allows the Venetian Plaster be as thick as possible because there’s no dye in it, and that kind of helps build up the base a little bit. For this we’re just gonna be applying the same color on all three coats, but you can definitely apply a white base coat and then apply the color coats afterwards. So if you’re buying this product you can just tint the amount for the next two coats, you don’t have to apply all three as a color coat. So, let’s get to it. So if you’re used to coarser Venetian plasters, this is going to apply a lot more smooth and silky kind of buttery, so it’s not going to be as course going on so just be aware of that if you’re moving from a coarse Venetian plaster to this, it might be a little jarring because it’s a lot more liquidy and spreads a lot further. So, again, we’ll just do our first code, nothing crazy here, we’re just applying it in a kind of the traditional format.
So obviously your first coats are to build up that base so make sure that you’re not pulling too much off on that first coat. Other than that, you’re going to want to make sure your walls are perfectly smooth. I have a little bump here that I’m noticing. Since this plaster is super thin, you don’t want any bumps on your wall, because that will come through. So as you can see here, it’s coming through a little bit so make sure your walls are perfectly smooth, I should have double-checked my board, but we’ll just continue on and see what happens here, but we’ll let that dry, and then we’ll come back and apply our second coat. Okay so our first coat is dry now. As you can see it dries is a lot lighter. Most Venetian plasters dry lighter so you’ll know it’s completely dry, it should be a fairly uniform color at this point in the process so if there’s any darker or light spots, then it’s probably not dry yet. So color on the first coats tend to be pretty uniform. So we’re gonna apply our second coat, again, not compressive at this point. We’re gonna apply three coats total, so you’re gonna apply it as if you were applying your first coat of a coarser plaster, not tight just to kind of build up that base and then the last coat, we’re gonna apply compressive and do the burnishing pass.
So that’s our second coat, we’ll let that dry, and then we’ll come back and do our final coat.
Alright so we’re going to do our final coat of our Grasselo, and this will be our compressive coat so we want to compress it into the two bottom coats, as well as burnish. So we’ll apply it and then we’ll go back and do a burnish.
So as you can see this code, definitely drives a lot faster. Very thin coat so you can see it’s already drying, so we’re gonna go ahead and do some burnishing. Again just make sure to double-check that you’re not pulling anything off, and if you are, make sure to grab a rag and just kind of wipe it off there.
We’ll try to get this nice and shiny for you guys.
You guys, this is so shiny. I can’t even believe it. It’s like… it’s a straight mirror. I’ll have to show you guys when it dries, but like, wow, first impressions here. Crazy.
Okay guys, so here is the final look, it’s all completely dry. And here’s what we got. So, obviously, first things first, it is super shiny you guys just from burnishing no wax no nothing went on it. Super, super shiny, so if you burnish while it’s still kind of a little wet and like, you can get that really nice compression in there it’s going to turn out really really like a mirror like finish. So I’m going to go ahead and show you here, hopefully what that looks like. I’m not sure if you’ll be able to see that kind of. So you can see it’s just super, super shiny, super easy to actually apply, since it’s so thin, you don’t really need a lot of like muscle or anything like that, it just really glides on the wall, super easy, you know, Even compressing it super super easy dries pretty quick though so on the compression coat, you’re going to want to make sure to get in there and compress it right away while it’s still a little bit wet.
Otherwise, this product is really, I would say pretty friendly to people that already know how to apply plaster, so don’t be afraid of this stuff. Again, this is going to give you that really, really smooth finish–very glossy–very traditional look. So obviously you’re going to get that movement in there you’re going to get going to get that depth but ultimately you’re here for the shine so this will give it to you for sure. Obviously, I would recommend to apply some sort of sealant to this, we’re not going to do that now, we want to compare these all kind of unsealed finish looks, let’s pull the tape off. All right, sorry I should have taken the tape off first, you guys, so here’s the final look, since we got to kind of a lighter color here, it almost kind of looks, since there’s marble in there, it really does just kind of look like a marble, like white marble slab. This was kind of a brownish color so it looks very natural. But, um, honestly. The look is gonna be it’s gonna be very similar to stone because it’s super high gloss so any place that you want kind of that stone glossy kind of look, I think this would be really good for that. There you go, here’s your first look at Grassello Fino. Hope you guys enjoy. Make sure to stay subscribed and we will see you guys next time.


Check out the before and after of our bathroom renovation. We decided to do a dark Venetian plaster for the walls and update a few of the details. We kept it pretty simple but are so happy with how it turned out…